Wednesday, January 29, 2014

Chocolate Banana Bread Muffins


I have a banana addiction. It's bad. It's very rare for me to go even one day without eating at least one banana. My freezer is overflowing with bananas because if I see them at a super good price, I will buy them (even if I already have a million in my freezer). There is a discount store that I like to go to, and I've picked up 40lb boxes of overly-ripe bananas for practically nothing. Needless to say, I have a lot of bananas.

So, when life hands you lemons bananas, go make some lemonade banana bread!

Here's a recipe for my new favorite, chocolatey banana bread muffins! These are very moist with just the right amount of banananess. Did I mention there was chocolate, too? Chocolate and bananas... you can't go wrong with those. No sir.


 Ingredients: 

  • 3/4 cup sugar
  • 1/4 cup milk
  • 3 tbsp oil
  • 1/2 tsp vanilla
  • 3 eggs
  • 3-4 quite ripe bananas
  • 2 2/3 cup Bisquick mix
  • 1 cup chocolate chips
  • brown sugar for topping

 Directions:

  1. Preheat your oven to 350°F. Line a muffin tin (or just spray the pan). 
  2. Mash up your bananas. If you are using frozen bananas, make sure you let them thaw a bit before trying to mash a rock solid banana (it's dangerous, trust me).
  3. In a large bowl, combine your sugar, milk, oil, vanilla, and eggs.
  4. Stir in your bananas. It may be easier to use an electric mixer to get a more even batter.
  5. Mix in your Bisquick and chocolate chips. Stir until the batter is well blended and even throughout.
  6. Fill the muffin cups. You want them to be about 1/2 to 3/4 filled.
  7. Top them off with some brown sugar (I used about a half teaspoon for each muffin) and put them in the oven!
  8. Bake for 20ish minutes, or until a toothpick comes out clean.
  9. ENJOY!


That wasn't so hard, now was it? 


Monday, January 27, 2014

Operation Clean-Up: The Fridge Addition

Everyday I open up the door, peek around and think, "there's nothing to eat"; when really there is a huge mountain of food ready to come tumbling down on me. The problem is: it's hard to find the really good stuff hidden amongst all the other junk stuffed inside.
That's where Operation Clean-Up comes in to play.

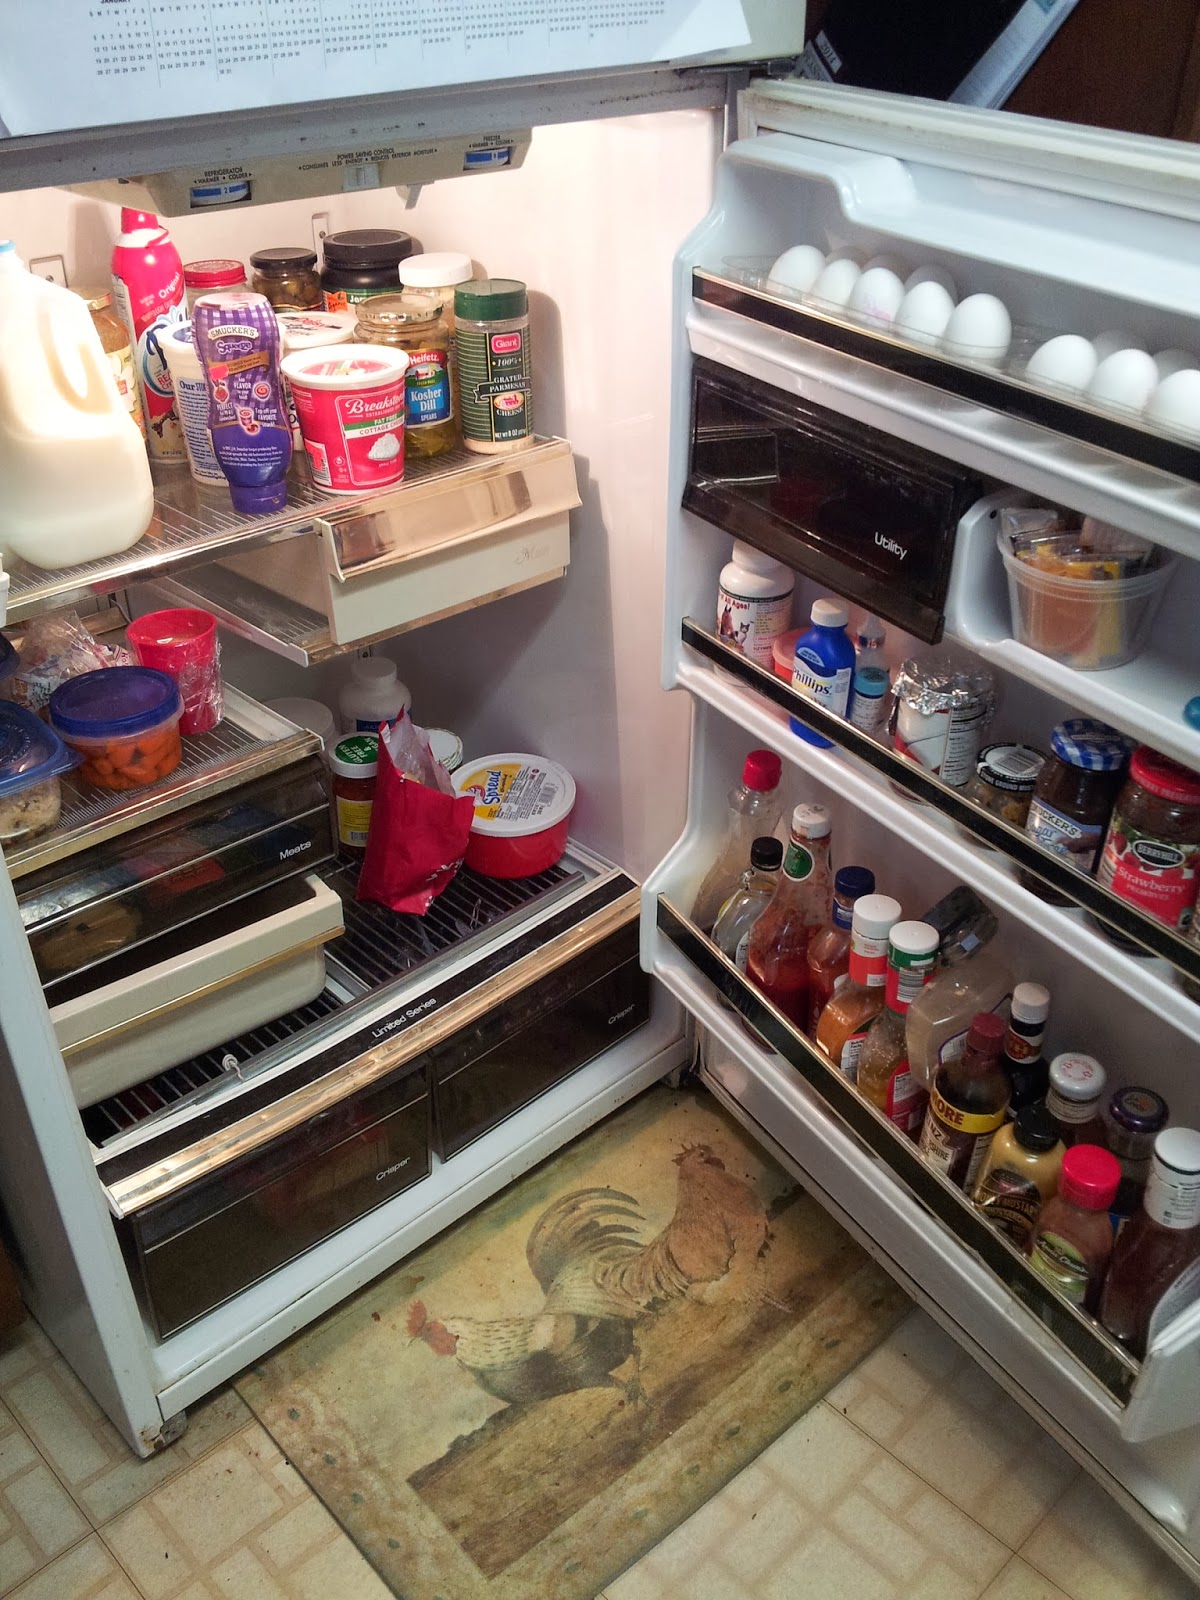
Let's take a look at the refrigerator in my house, shall we?


There is no rhyme or reason to how things are placed in here... everything is pretty much thrown in anywhere you can find a space for it. So.. let's try a wee bit of organization, eh?

Step 1: Take everything out of the fridge (including drawers and shelves if possible). Put it on the kitchen table, counter top, in boxes, or wherever you can find space for everything.

Ew! It was about time to clean this...
 Step 2: Clean clean clean! I just used baking soda and water since some soaps leave a fragrance that can affect the food. You may need to do a lot of scrubbing (I certainly did...). Use a rag, scrub brush, sponge, toothbrush, whatever you need to do to get the job done (I used all of the above).

wow! It's like a new fridge!

Step 3: Dry it. Take rag or paper towels and wipe everything down. You don't want to put your food back on shelves and into drawers that are dripping wet. Obviously.

Step 4: Go through your food. Decide what needs to be tossed. Try to combine things if you have multiple containers of the same thing. You may even have some things that don't need refrigerated, so take those out to free up some space (I moved some soy sauce, hot sauce, and sesame oil into the cupboard). If you have food that is still good but don't plan to use it for awhile, consider putting it in the freezer instead of back in the fridge.

Step 5: Put everything back in an organized fashion. If you are like me, you will find yourself with a lot more space than you had before.

Step 6: Admire your hard work. Here's a look at my newly clean fridge.


So there you have it! Now get cleaning. I certainly hope my refrigerator wasn't the only one looking that raunchy...